Christopher Baim
MSc in Neuroscience
About
Developer Portfolio
Research
CV
View My LinkedIn Profile
Auto Drawer
Auto Drawer is a simple freehand drawing application using mouse automation. From a source image, it draws a binary image in applications that allow freehand mouse drawing (ex. Microsoft Paint or Roll20).
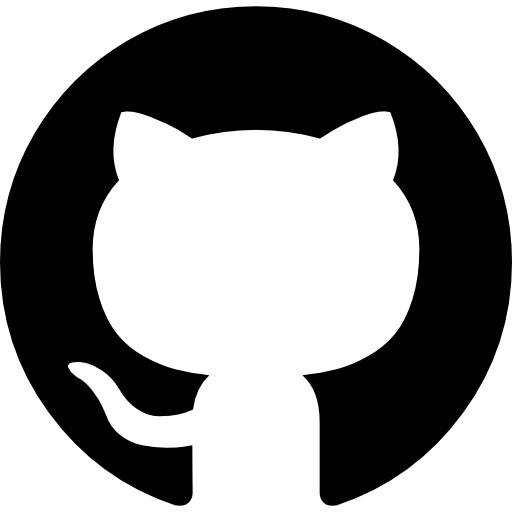
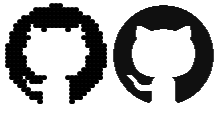
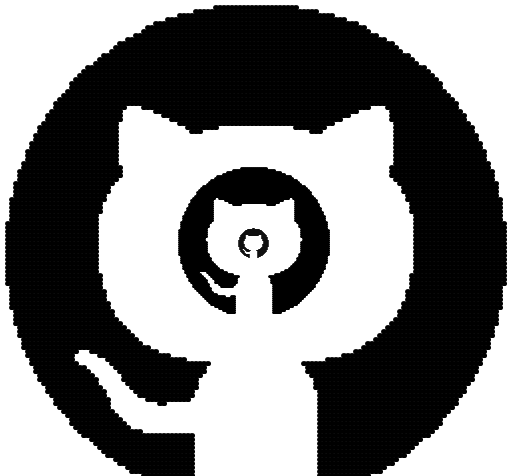
GitHub logo drawn with Auto Drawer
Motivation
Online gaming services, like Roll20, often allow users to freehand draw onto maps for other players to see. I wanted a way to make decent drawings without requiring a drawing tablet and artistic skill.
Features
Works with any common image file format (ex. PNG, JPEG, BMP, GIF, TIFF)
Adjustable drawing settings including resolution, size, and speed
 |
 |
 |
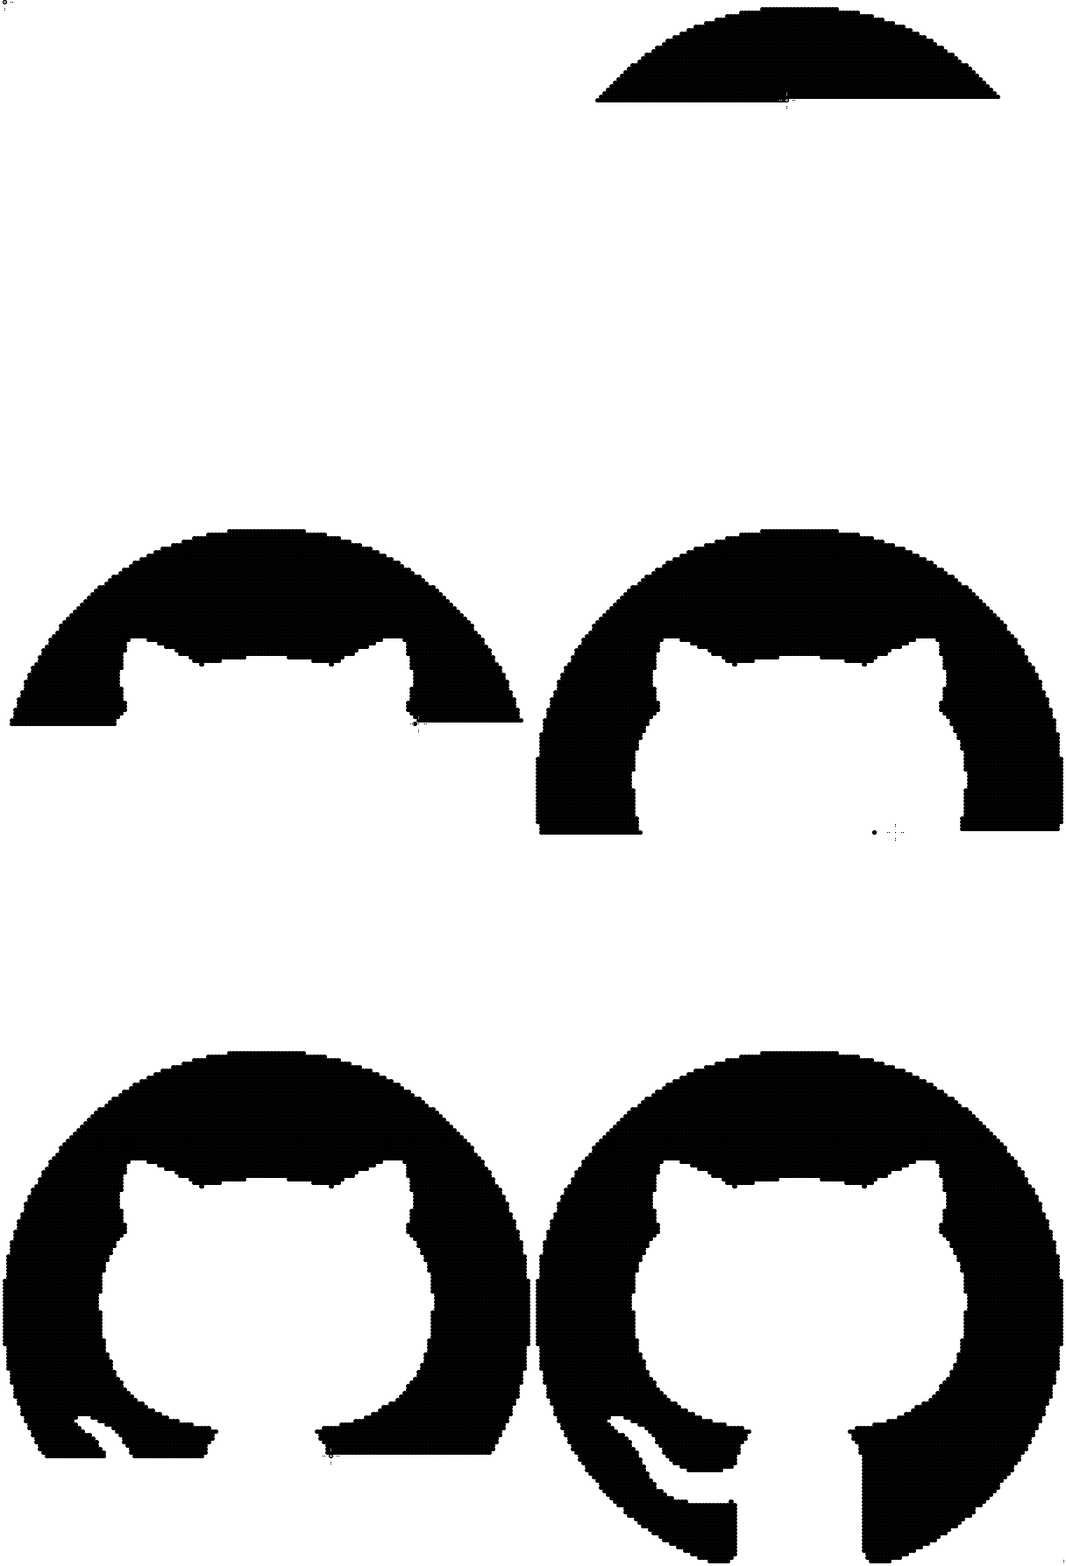 |
|---|---|---|---|
| Source | Resolution | Size | Speed |
Download for Windows
Not comfortable with Python? Grab the standalone Windows app — no install required, just download and double-click:
➡️ Download AutoDrawer.exe
(Or browse all versions on the Releases page.)
⚠️ You may see a security warning — this is expected. Windows SmartScreen may show a blue “Windows protected your PC” box, or your antivirus may flag the file. This is a false positive: AutoDrawer works by simulating mouse and keyboard input, which is exactly the kind of behavior security software watches for. The
.exeis built automatically from this repository’s source code by GitHub Actions (release.yml) — nothing is added by hand.To run it anyway, click More info → Run anyway on the SmartScreen prompt (and, if your antivirus quarantines it, allow/restore the file).
Prefer not to run a prebuilt
.exe? You don’t have to — you can run AutoDrawer straight from the source code instead (see Run from source below). That’s also the path for macOS and Linux, which don’t have a prebuilt download.
Run from source
Auto Drawer needs Python 3 with Tkinter and the packages in requirements.txt.
First, get the code (either clone with git or download and unzip the ZIP from the green Code button):
git clone https://github.com/ChristopherBaim/AutoDrawer.git
cd AutoDrawer
Windows
Install Python 3 (check Add python.exe to PATH during setup; Tkinter is included), then:
pip install -r requirements.txt
python AutoDrawer.py
macOS
brew install python-tk        # Tkinter for Python on macOS
pip3 install -r requirements.txt
sudo python3 AutoDrawer.py    # keyboard hotkeys require root
The first run will prompt for Accessibility permission (System Settings → Privacy & Security → Accessibility) so the app can control the mouse. (Reading the global Esc cancel key is what requires running under sudo — see the note below.)
Linux (Debian/Ubuntu/Mint)
sudo apt update
sudo apt install python3-pip python3-tk
pip3 install -r requirements.txt
sudo python3 AutoDrawer.py    # keyboard hotkeys require root
Note: the
keyboardpackage needs root to capture global hotkeys (the Esc cancel key), so on macOS and Linux run the app withsudo. On Windows, run it from a normal terminal.
How to use
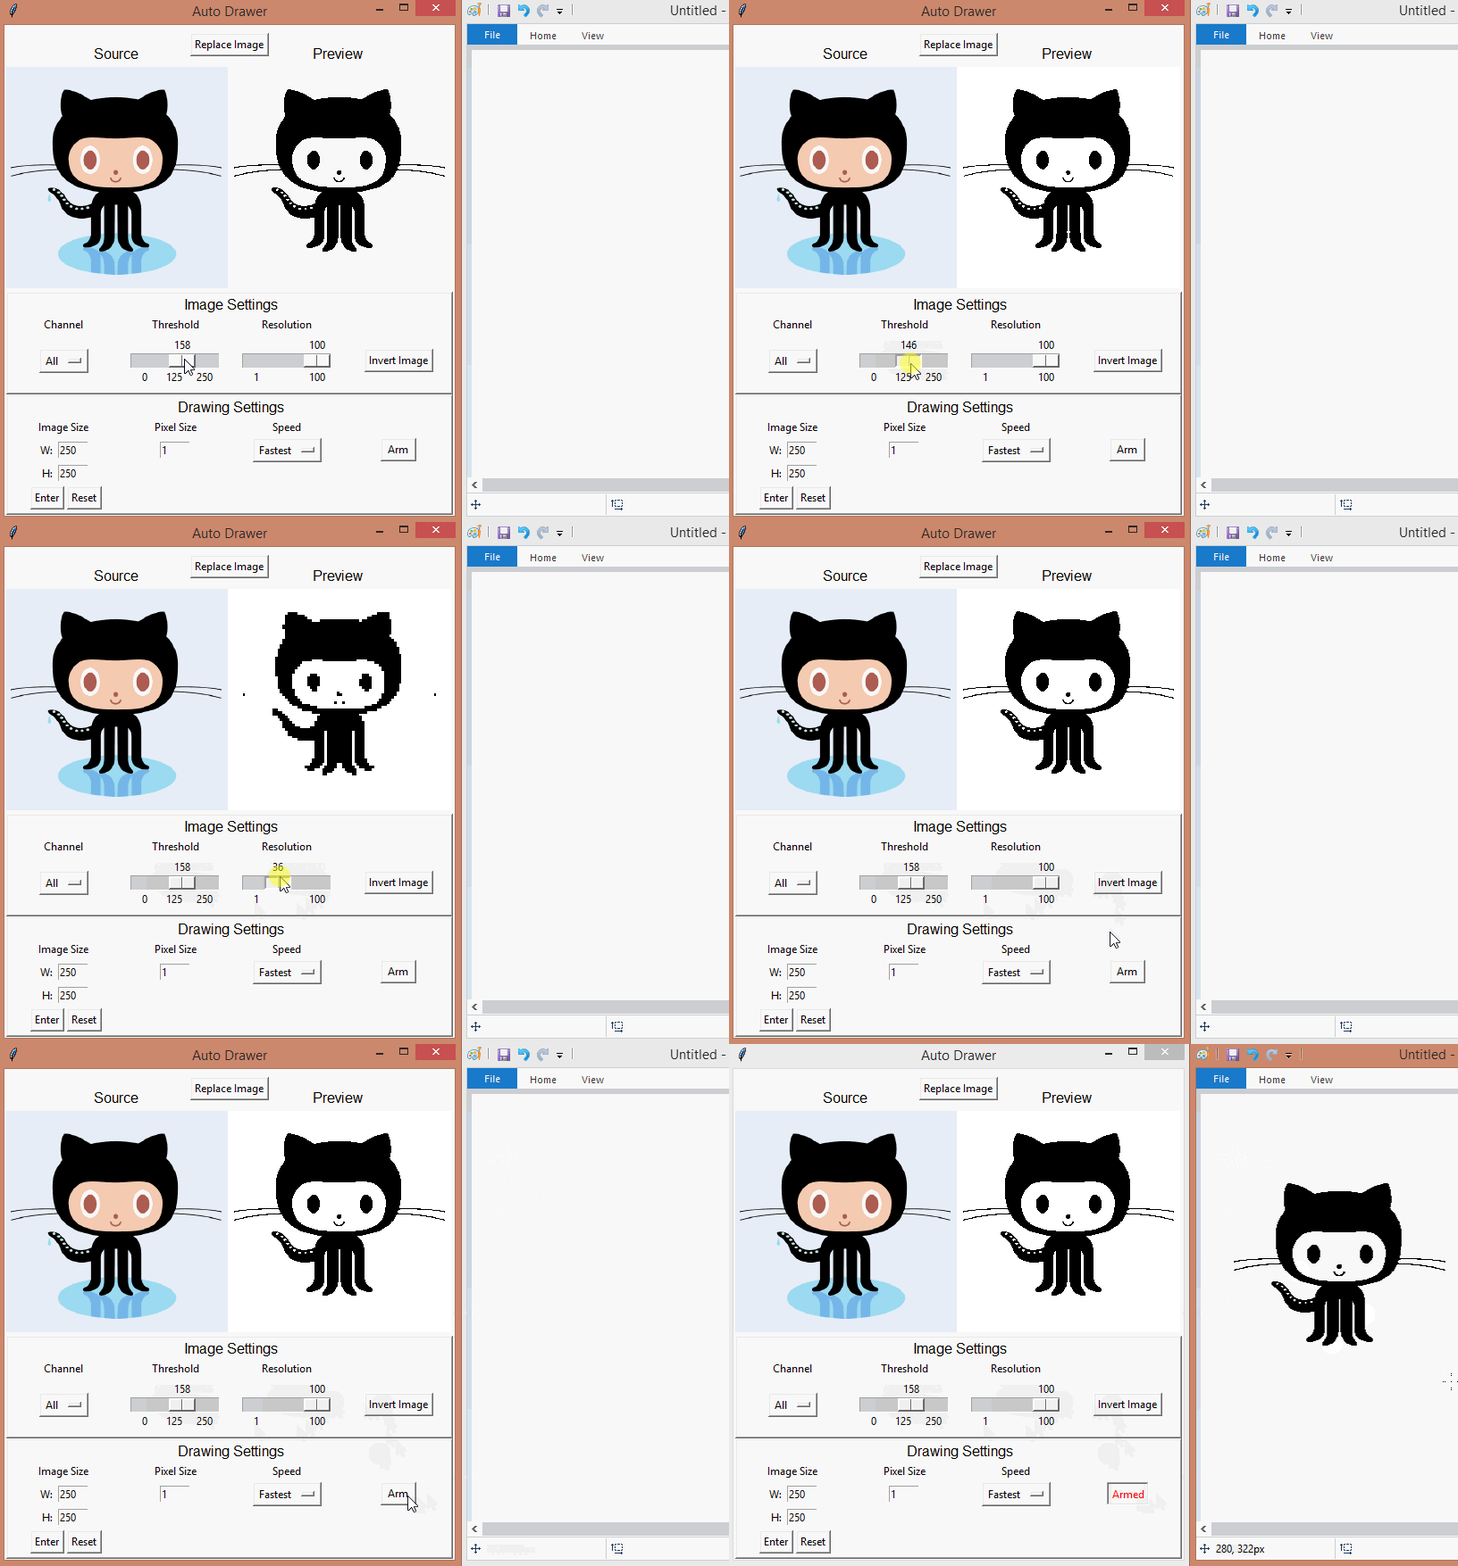
Auto Drawer converts your image into a black-and-white (binary) image and then reproduces it in another program by dragging the mouse: it draws the black areas and skips the white ones. The window shows your source on the left and a live preview of exactly what will be drawn on the right — tune the settings until the preview looks right, then draw.
Quick start
- Click Load Image and pick a file (PNG, JPG, GIF, BMP, TIFF, WebP, …).
- Adjust the Image Settings until the preview shows the black/white result you want.
- Set the Drawing Settings (size, pixel size, speed) for your target program.
- Open your drawing program (e.g. Paint, Roll20) side-by-side with Auto Drawer.
- Press Enter once to preview the drawing’s size and position (nothing is drawn yet).
- Click Arm, then draw (see Drawing below).
Image Settings — shape the black/white preview
- Channel — which color information to threshold on:
- All (default) — uses overall brightness (grayscale).
- Red / Green / Blue — uses only that color channel. Handy to isolate a subject from its background by color (e.g. pick Red to make a red object stand out).
- Threshold (0–255) — the cutoff between “draw” and “leave blank.” Pixels brighter than the threshold are left blank; everything darker is drawn. Raise it to draw more of the image (more ink), lower it to draw only the darkest areas.
- Resolution (1–100) — 100 keeps full detail; lower values downscale then upscale the image to give a coarse, blocky, pixel-art look.
- Invert Image — flips the preview’s colors (and the threshold). Since only dark areas are drawn, use this when your subject is light on a dark background so the subject gets drawn instead of the background.
Drawing Settings — control the output
- Image Size (W / H) — the drawing’s dimensions in image-pixels. Change one value at a time and press Enter (the box next to it) to keep the aspect ratio; Reset restores the original size.
- Pixel Size — how many screen pixels each image-pixel becomes (default 1). Increase it to scale the whole drawing up, or to match a drawing program with a larger brush. Final on-screen size ≈ Image Size × Pixel Size.
- Speed — pause between mouse movements: Fastest → Slow. Faster is quicker but can overwhelm the target program and drop strokes; use a slower setting if the drawing comes out incomplete or the program can’t keep up.
Drawing
Arm is a safety switch so you can aim before committing:
- Not armed — pressing Enter does a dry run: it moves the mouse across the area the drawing will occupy so you can confirm it fits inside your drawing program and won’t spill onto other controls. Nothing is drawn.
- Armed (button turns red and reads “Armed”) — pressing Enter performs the actual drawing. Click Arm again to disarm.
The drawing begins at the current mouse position, which becomes the top-left corner, and proceeds row by row (left-to-right, top-to-bottom).
To draw:
- Click the Auto Drawer window to give it keyboard focus (it’s the window that listens for Enter).
- Move the mouse over your drawing program’s canvas, to the point where you want the top-left corner of the drawing — hover, don’t click (clicking would start drawing in the wrong place or switch focus).
- Press Enter to start. Keep your hands off the mouse while it draws.
Tip: do a not-armed Enter first to preview the footprint, leave a margin around it, and start with a slower speed the first time.
Stopping a drawing
Press Esc at any time (it’s a global hotkey — this is why the app needs sudo on
macOS/Linux), or quickly fling the mouse into any corner of the screen to trigger
PyAutoGUI’s fail-safe. Either one aborts the drawing immediately.
Examples
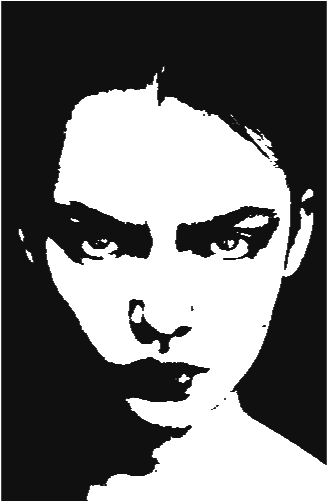
Works with photographs
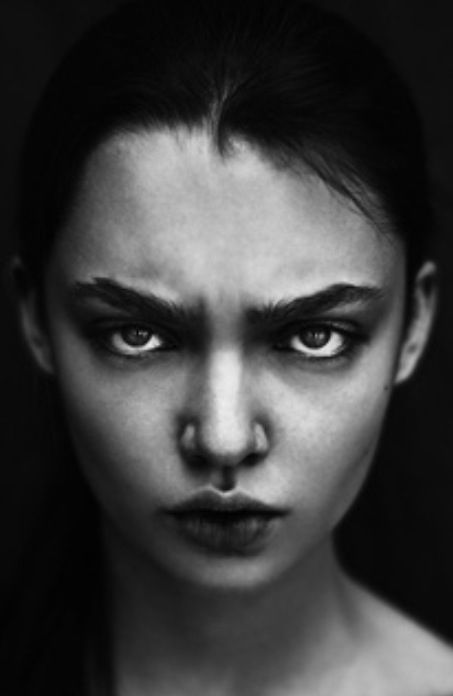 |
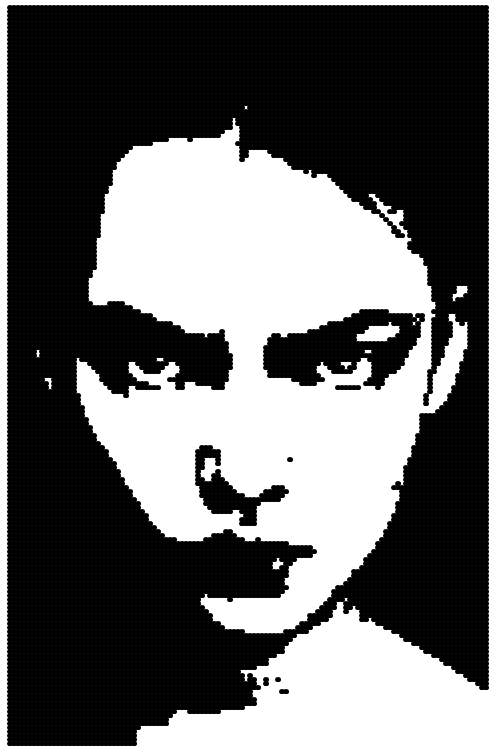 |
 |
|---|---|---|
| Source | Low Resolution | High Resolution |
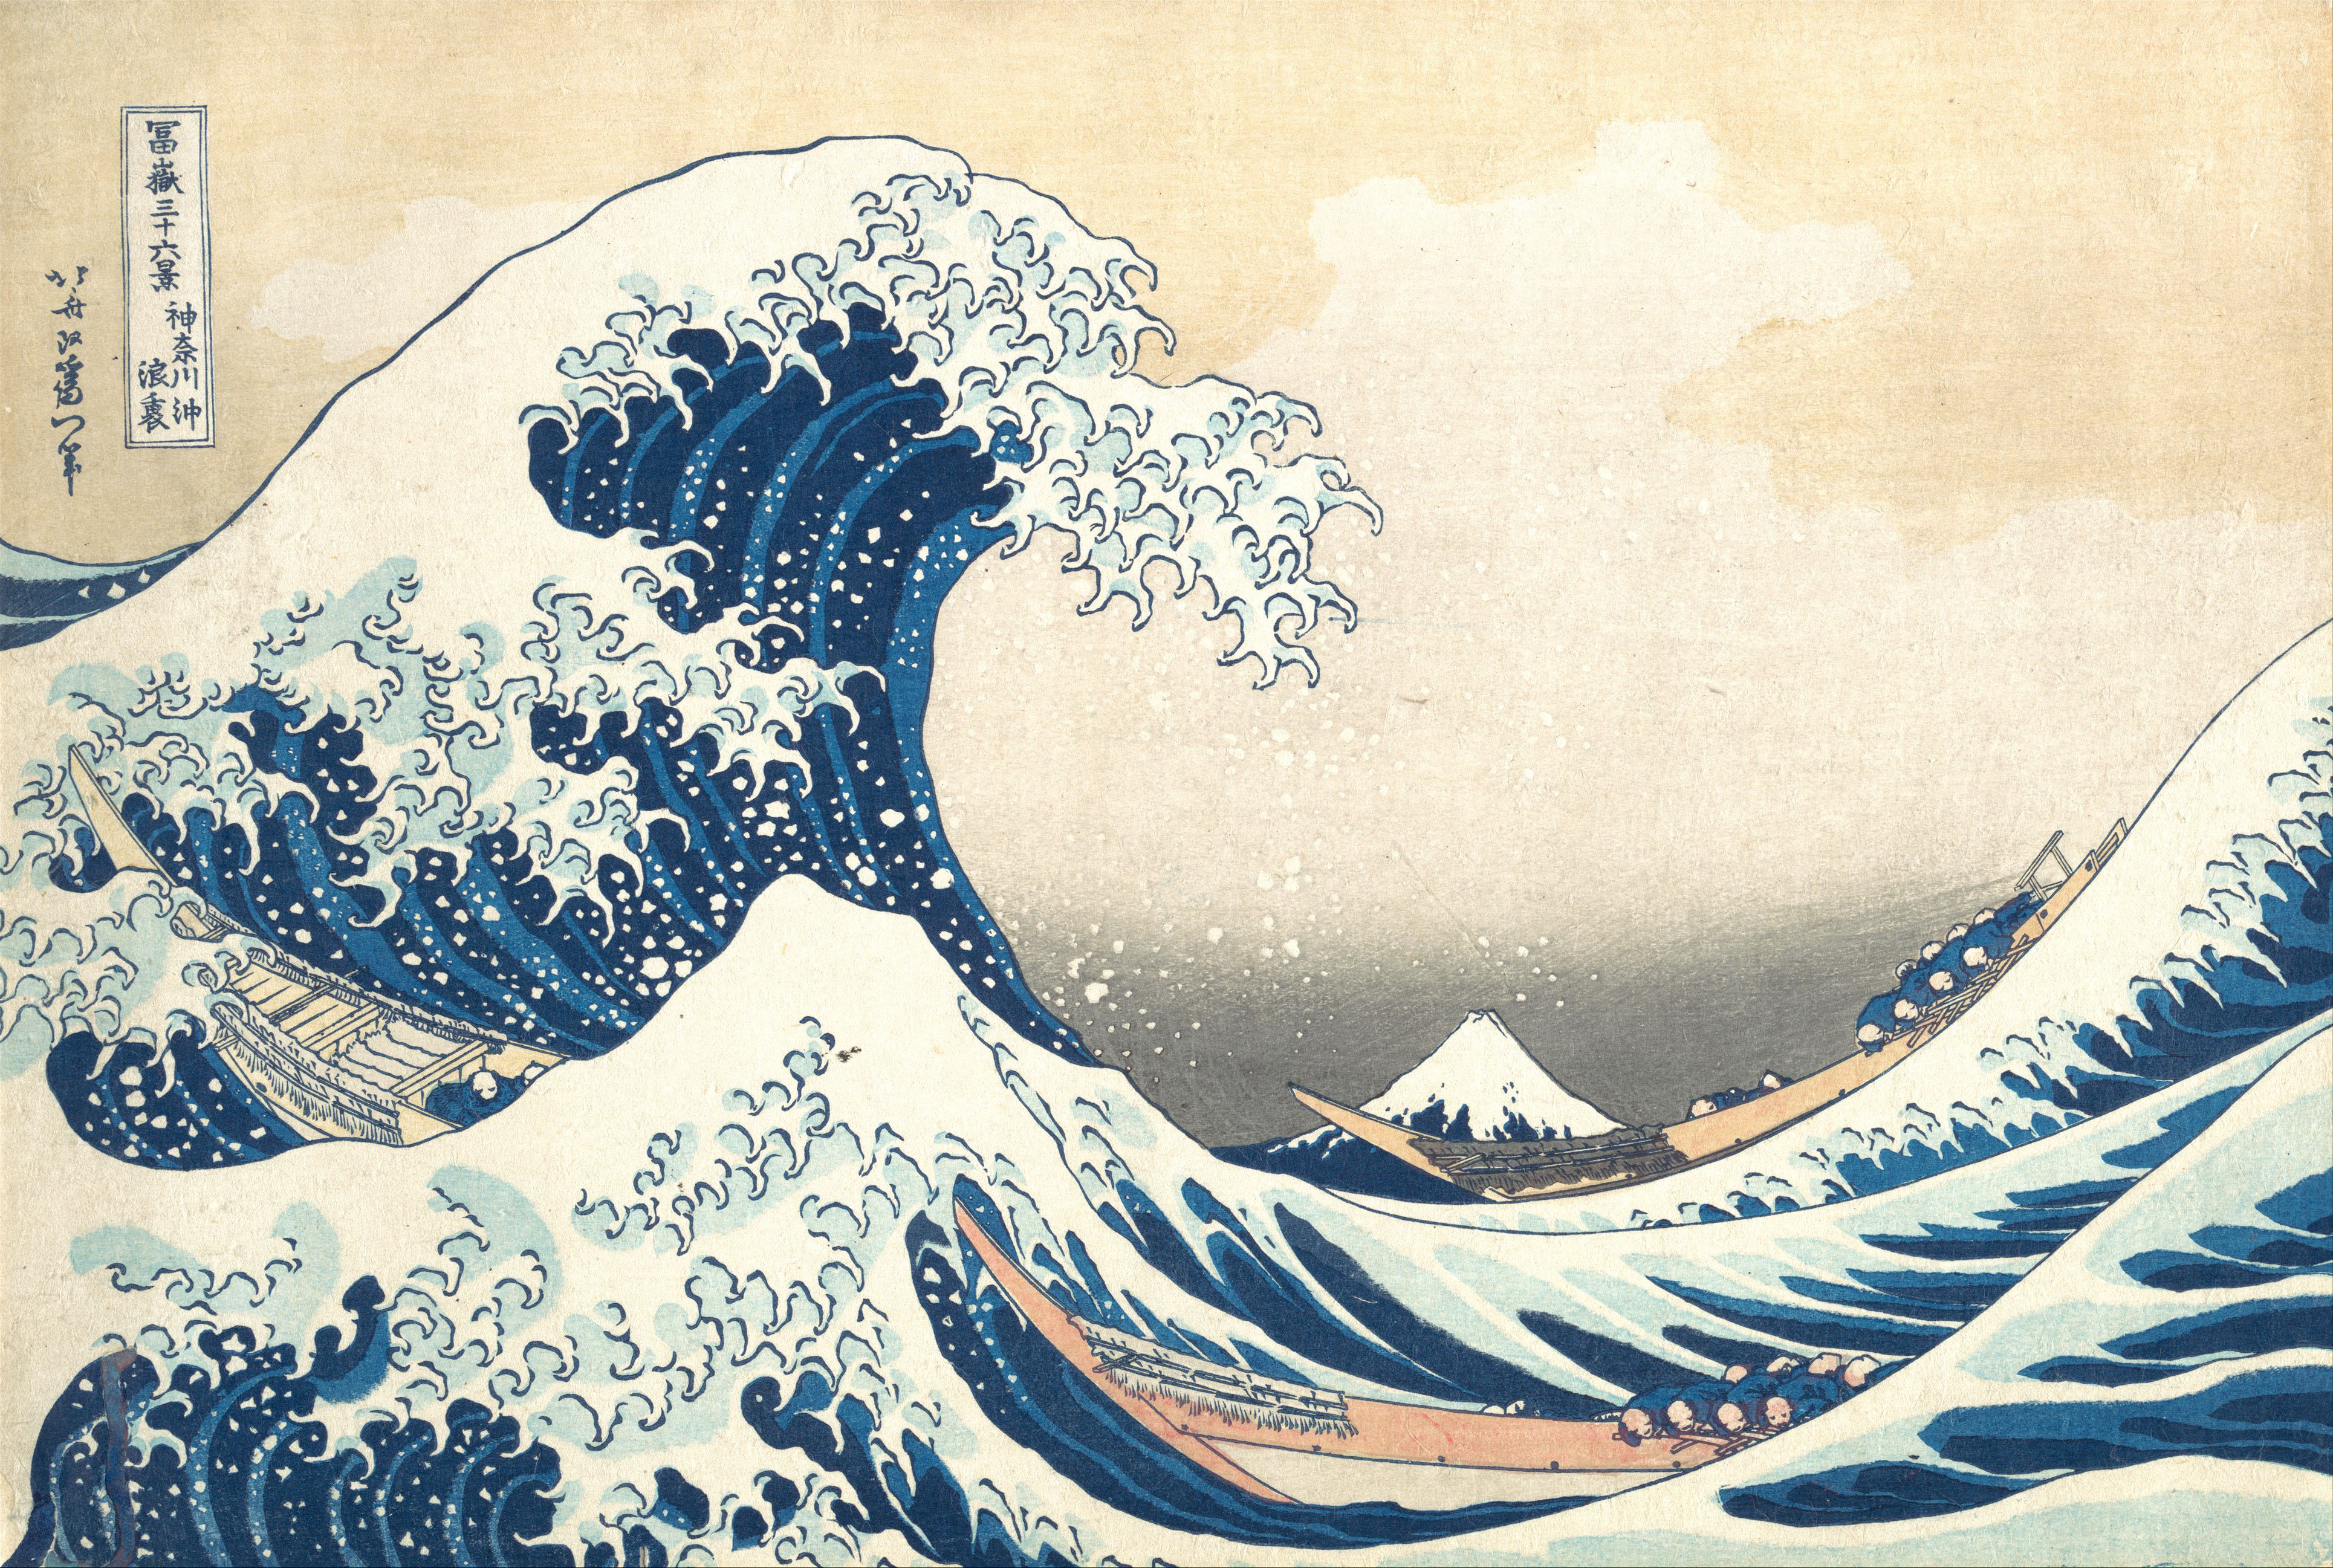
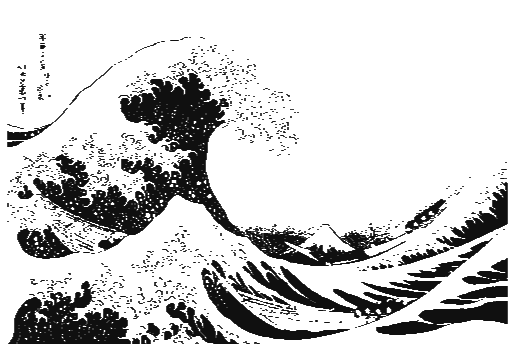
Works with color images
 |
 |
|---|---|
| Source | Output |
Built using
- Pillow (PIL Fork) for image processing
- PyAutoGUI for mouse automation
- NumPy to organize image data array
- Tkinter for GUI